Welcome crafty friends. If you came from Holly's fantastic blog then you are on the right track. If you are one of my 41 followers and happened upon this hop you will want to start at the beginning so you don't miss out on all of the wonderful creations and goodies! All weekend, My Cricut Craftroom is showcasing over 100 different Cricut Cartridges.
My Projects are from five different cartridges. These are Heritage, song bird, beyond birthday bash,from my kitchen, picturesque.
~~~~~~~~~~~~~~~~~~~~~~~~~~~~~~~~~~~~~~~~~~~~~~~~~~~~~~~~~~~~~~~~~~
BEANIE HAT Gift CARD HOLDER


~~~~~~~~~~~~~~~~~~~~~~~~~~~~~~~~~~~~~~~~~~~~~~~~~~~~~~~
Directions:
Step 1
Cut the 5" Circle in half so that you are left with two 2-1/2" semi-circles.
Step 2
Adhere the 2-1/2" semi-circle patterned paper to one of the 2-1/2" solid card stock semi-circles and set it aside.
Step 3
Use a border edge punch on one of the long sides of the 5-1/8" x 1-5/8" strip of solid card stock
Step 4
and add some dashes using the white gel pen.
Step 9
Punch a notched circle using the iTop™ punch, fold it in half and then in half again.


My Projects are from five different cartridges. These are Heritage, song bird, beyond birthday bash,from my kitchen, picturesque.
~~~~~~~~~~~~~~~~~~~~~~~~~~~~~~~~~~~~~~~~~~~~~~~~~~~~~~~~~~~~~~~~~~
BEANIE HAT Gift CARD HOLDER


I made the Butterfly from the Cricut Cartridge Picturesque. I use pop- a-dots to pop the butterfly up. I used the I-top (22 mm) topper punch to decorate the top of that hat.
Here is the supplies to make this cute Beanie.
Supplies:
- One 5" circle out of solid card stock
- One 2-1/2" semi-circle out of patterned paper
- One 5-1/8" x 1-5/8" strip of solid card stock
- One 5-1/8" x 7/8" strip of patterned paper
Paper Cutter - Crop-a-Dile™
- Circle Scissors Plus, or any other tool that allows you to cut a 5” circle
- Edge Punch
- iTop Punch, or a circle punch and you can make the notches with scissors
- White Gel Pen
- One Brad
- One Eyelet
- Bow
- Double Sided Tape, 1/4" and 1/2" width
- Additional card stock for pom-pom
Directions:
Step 1
Cut the 5" Circle in half so that you are left with two 2-1/2" semi-circles.
Step 2
Adhere the 2-1/2" semi-circle patterned paper to one of the 2-1/2" solid card stock semi-circles and set it aside.
Step 3
Use a border edge punch on one of the long sides of the 5-1/8" x 1-5/8" strip of solid card stock
Step 4
and add some dashes using the white gel pen.
Step 5
Add a strip of 1/2" double sided tape to the 5-1/8" x 7/8" strip of patterned paper and adhere it to the strip you just added the dashes to.
Step 6
Turn it over, and add a strip of 1/4" double sided tape as close to the punched edge as possible.
Step 7
Attach the non-decorated 2-1/2" semi-circle (the one without the patterned paper) to the strip.
Insert the decorated semi-circle in between the strip and the non-decorated semi-circle. Turn the project over so that you’re able to center the semi-circles.
Hint:The front semi-circle will be taller than he one in the back.
Hint:The front semi-circle will be taller than he one in the back.
Step 8
Holding the strip and semi-circles in your left hand, insert the Crop-a-Dile™ in between the semi-circles and punch a hole.
Important:
Do not punch a hole through the semi-circle in the back, so make sure you place the Crop-a-Dile;& correctly.
Important:
Do not punch a hole through the semi-circle in the back, so make sure you place the Crop-a-Dile;& correctly.
Insert an eyelet, set it, and adda butterfly on top of the eyelet with double-sided tape. Set it aside to work on the pom-pom.
Step 9
Punch a notched circle using the iTop™ punch, fold it in half and then in half again.
Step 10
Through all those layers punch a hold using the Crop-a-Dile™. Insert a brad and set it aside.
Step 11
Punch a hole in the middle of the front semi-circle and insert the brad and pom-pom. Open the front semi-circle of the beanie and insert your gift card. With that, you are done!
~~~~~~~~~~~~~~~~~~~~~~~~~~~~~~~~~~~~~~~~~~~~~~~~~~~~~~
Envelope Album


Step 11
Punch a hole in the middle of the front semi-circle and insert the brad and pom-pom. Open the front semi-circle of the beanie and insert your gift card. With that, you are done!
~~~~~~~~~~~~~~~~~~~~~~~~~~~~~~~~~~~~~~~~~~~~~~~~~~~~~~
Envelope Album


For the Bird in the Cage and on the Organizer Tabs I used the Song Bird Cartridge
~~~~~~~~~~~~~~~~~~~~~~~~~~~~~~~~~~~~~~~~~~~~~~~~~~~~~~~~~
Box and Envelope Card Set


The tree that I made on the Box was from the Heritage Cartridge
~~~~~~~~~~~~~~~~~~~~~~~~~~~~~~~~~~~~~~~~~~~~~~~~~~~~~~~~~~~~~~~~
Surprise Message Card

Directions:
Step 1
Cut a piece of plain card stock for your base at 4 1/4 ' x 5 1/2'
Step 2
Cut your plain cardstock ( I chose Brown) at 1/4'x 3
Step 3
Cut a piece of designer paper( I chose Lifes Journey by Recollection) at 4 1/4'x 3 1/2 '
Step 4
Place adhesive on the bottom of the designer paper and on the sides( NOTE- Do not put adhesive on the top because that's the pocket to keep your card lid down and keep your message hidden.
Step 5
Cut a piece of ribbon at 16' and place it on your 1/4'x 3 1/2'
Step 6
Cut or Stamp your message on the upper right side of the card
Step 7
use a brad 5/16'
Step 8
Take a paper Piercer and Pierce all of the cardstock and place your brad
Step 9
Then your card is made
I used the Beyond Birthday Cartridge for the letters I Love you. I love this cart.
~~~~~~~~~~~~~~~~~~~~~~~~~~~~~~~~~~~~~~~~~~~~~~~~~~~~~~~~~~~
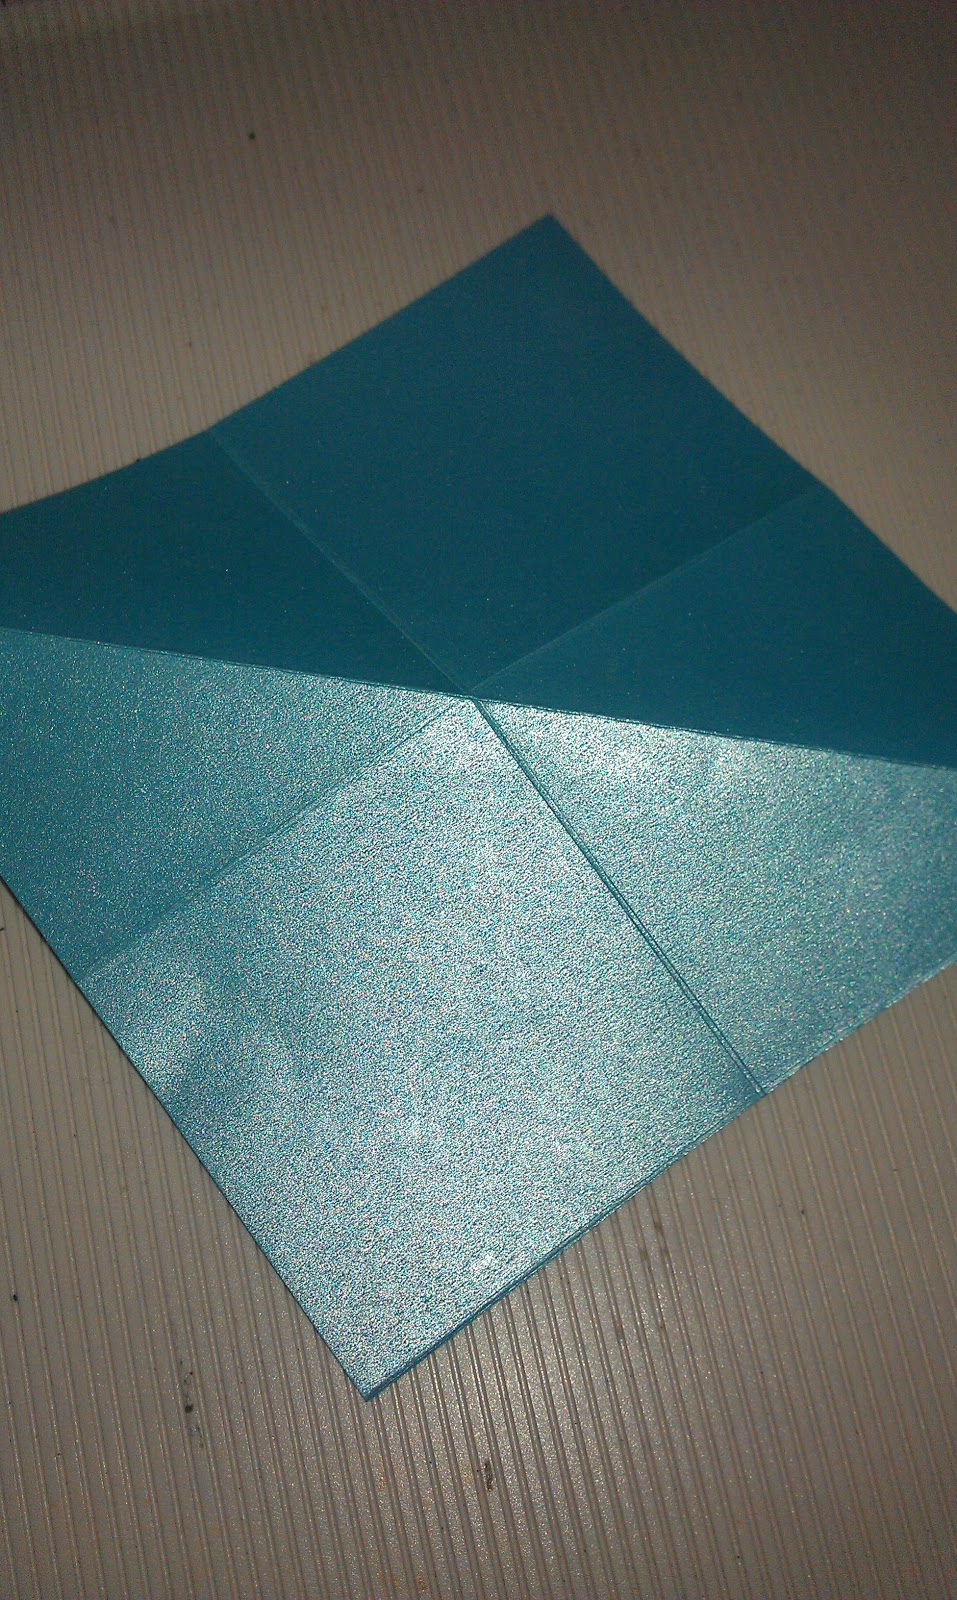
Dimond Fold Card

The cheese and the Font was from using from my kitchen. Pretty Cheesy!( Giggle) I know I put a smile on your face.
Well I hope you all enjoyed my projects. Please leave me some love.
Have a GREAT CRAFTING DAY!!
Next Stop is BLOG CANDY
Here is the line up just in case you get lost.
17. Blog Candy http://ericasblogcandy.blogspot.com/ --Next--